Custom
You can create your own personal dashboard, providing live dashboard reports with Blocks, Risks, and Metrics that you are interested in keeping an eye on.
It also allows you to create a high-level report for a presentation /printout.
Use these steps to create a new custom dashboard.
Create new custom dashboard
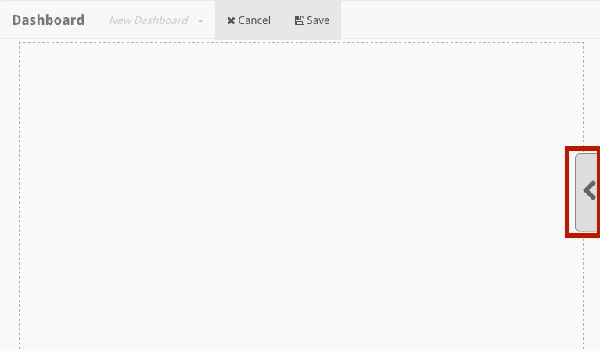
Then click the expand arrow on the right middle of the screen, to display the Options menu (as highlighted below).
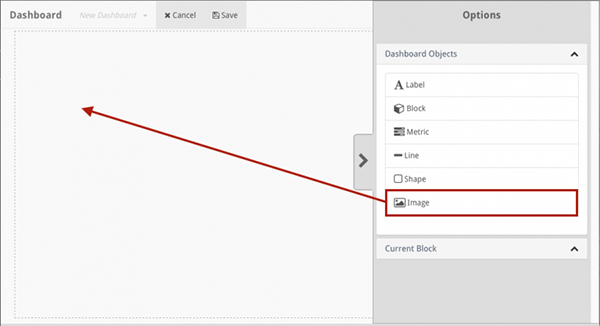
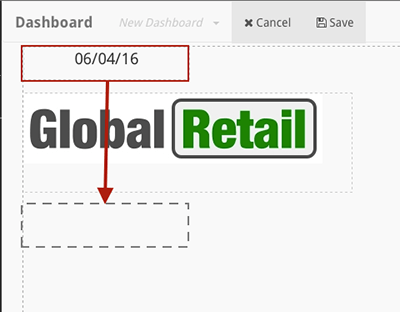
Then drag and drop it into the main screen. You can select from the following types:
Label – text label – can be used to create a heading/title
Block – insert a block, in the following display options:
- Block title
- Small block
- Bullet chart and sparkline block
- Normal block
Metric – insert one of your metrics, in the following display options:
- Metric title
- Bullet chart and sparkline metric
- Metric chart
Risk – insert one of your risks, in the following display options:
- Risk title
- Risk gauge
Line – insert horizontal or vertical line. Format using colour, transparency thickness and line type.
Shape – add rectangle, circle or triangle. Format using border and line colour, transparency, style and radius type
Image – insert image (e.g. company logo)
Once you have dropped the item in, double click on it to enter the customisation screen. From here you can select the item type you wish to display, and preview what it will look like.
You can also delete the image by clicking the Delete button to remove it from your dashboard.
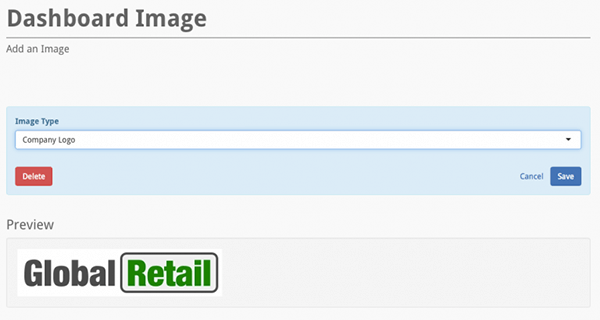
Once you have made your changes, click Save, or Cancel to exit without saving.
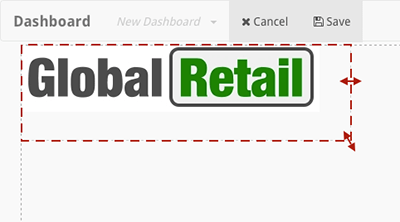
Now that the item has been added to your dashboard, you can click to select it, and then resize it by dragging the edges and/or corners in or out, as shown by the arrows below.
You can also click and drag objects to a different location on the screen.
Add any other new items as required by repeating the steps above. Once you have finished adding objects, click Save.
In the fields of the Dashboard Settings screen enter a name and description for the new dashboard, then click Save.
Other dashboard options
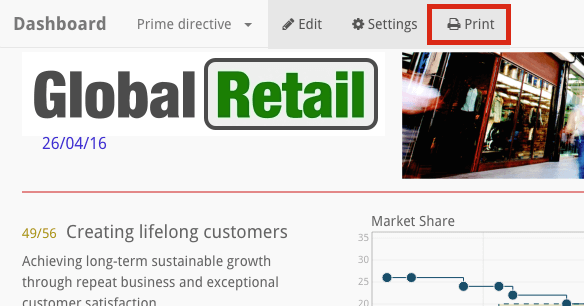
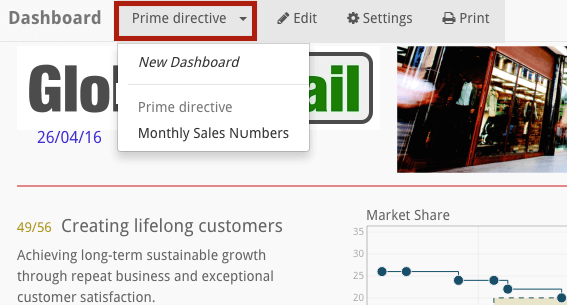
You can switch between your created custom dashboards, by clicking the Dashboard dropdown arrow, shown below. From the list of your dashboards, click to select the dashboard you wish to display. (Note: this will become your default view.)
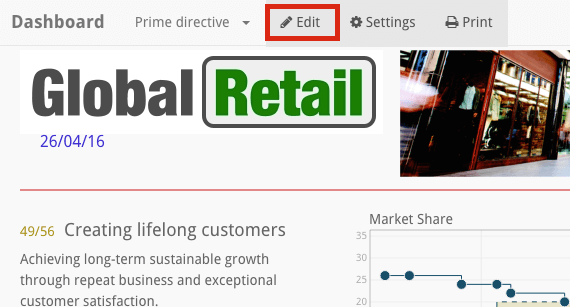
Edit your custom dashboard, by clicking the Edit button, which allows you to:
Drag new items onto the dashboard from the side menu
Resize items by dragging the corners of the objects.
Delete items (double click on a dashboard item to access its configuration page, then click Delete.)
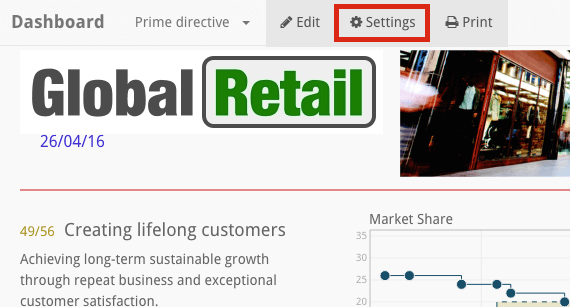
Click Settings to change the display settings (title and description) of this dashboard, and also share a cloned version with another user.
Print your custom dashboard, by clicking the Print button, which downloads your dashboard as a printable PDF document.